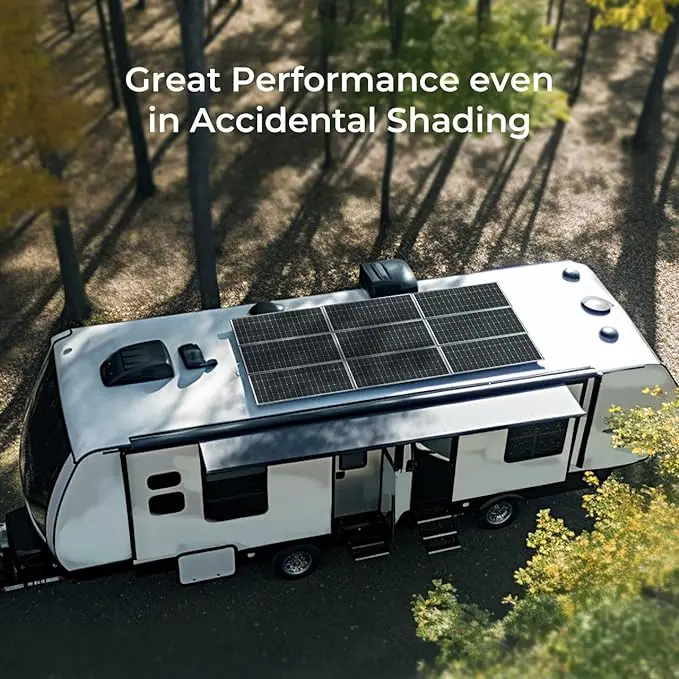
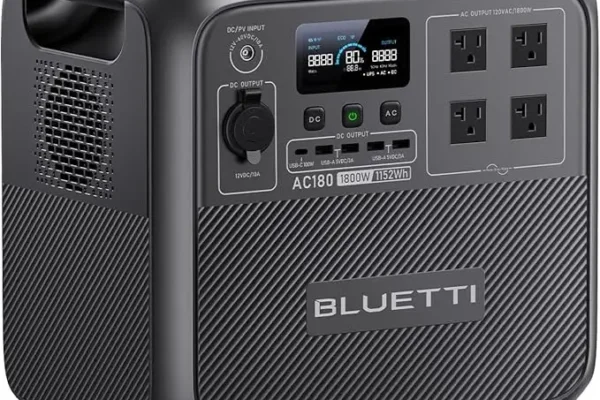
Harnessing the power of the sun to create your own solar energy system can be a rewarding project. Whether you’re aiming to cut energy costs, live off-grid, or simply embrace sustainability, a DIY solar setup is a great place to start. This comprehensive guide walks you through the process, breaking it into simple, manageable steps.
Why Build a DIY Solar Setup?
Creating your own solar setup has several benefits:
- Customization: Tailor the system to fit your needs.
- Skill Development: Gain hands-on experience with renewable energy.
- Future-Proofing: Modify your setup as your energy requirements grow.
Let’s dive into the steps to make it happen!
Key Components of a Solar Energy System
Before starting, gather these essential components:
- Solar Panels: Collect energy from sunlight.
- Charge Controller: Regulates energy flow from the panels to the battery.
- Battery: Stores energy for use when sunlight isn’t available.
- Inverter: Converts stored DC energy into usable AC power.
Tools You’ll Need:
- Phillips screwdriver
- Crescent or socket wrenches
- Needle-nose pliers
Step 1: Connect the Charge Controller to the Battery
To begin, connect the charge controller to the battery. Follow these steps carefully:
- Locate the terminals labeled
BAT+(positive) andBAT-(negative) on the charge controller. - Insert the stripped ends of the cables into these terminals. Use a Phillips screwdriver to tighten them securely.
- Connect the other ends of the cables (with lugs) to the corresponding battery posts. Ensure the connections are tight and stable.
Pro Tip:
Always connect the charge controller to the battery before connecting solar panels. This prevents potential damage to the controller.
Step 2: Connect the Charge Controller to the Solar Panel
Once the battery is connected, it’s time to integrate the solar panel:
- Use extension cables with MC4 connectors to link the panel to the charge controller.
- Match the polarity of the cables to the charge controller terminals labeled
PV+(positive) andPV-(negative). - Tighten the connections securely and ensure they’re stable.
Safety Tip:
Keep the solar panel out of direct sunlight during this step to avoid accidental power surges.
Step 3: Connect the Battery to the Inverter
Next, link the battery to the inverter to enable energy conversion:
- Attach the inverter cables to the battery, beginning with the positive terminal.
- Include a fuse in the positive cable to protect against overloads.
- Secure the connections tightly, but avoid overtightening during the initial setup.
Reminder:
Test the system by powering a small appliance before proceeding with larger devices.
Step 4: Test the Entire System
Finally, it’s time to ensure everything is functioning correctly:
- Place the solar panel in direct sunlight and check the charge controller for energy flow indicators.
- Turn on the inverter and plug in a device, such as a phone charger or small appliance, to confirm power delivery.
Performance Tip:
Monitor your battery levels regularly to avoid over-discharging. Aim to maintain at least 20% battery capacity under load.
Additional Tips for Success
- Battery Monitoring: Use a monitoring app or device to track performance and prevent damage.
- Scalability: Start with a basic system and add more panels or batteries as needed.
- Maintenance: Periodically check connections and clean the solar panels for optimal performance.
Conclusion
Building a DIY solar setup is a straightforward process when broken into manageable steps. By following this guide, you can create a reliable and customizable system to power your devices and reduce reliance on traditional energy sources. With practice, you’ll not only save money but also contribute to a greener future.

